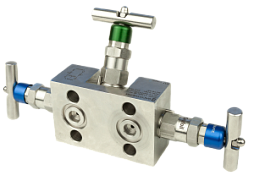
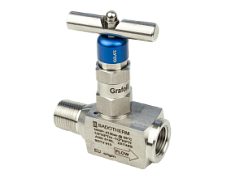
The valve spindle assembly consists of various components. All non-wetted parts are made of AISI 316 (L). All wetted parts match the body material. The cover is secured with a locking pin to the main valve body. The spindle has a safety backseat that prevents accidental spindle removal.
Control and measuring equipment
The valve spindle assembly consists of various components. All non-wetted parts are made of AISI 316 (L). All wetted parts match the body material. The cover is secured with a locking pin to the main valve body. The spindle has a safety backseat that prevents accidental spindle removal.
The valve spindle assembly consists of various components. All non-wetted parts are made of AISI 316(L). All wetted parts match the body material. The cover is secured with a locking pin to the main valve body. The spindle has a safety backseat that prevents accidental spindle removal.
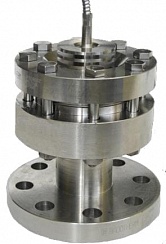
Some applications require custom diaphragm seals. We've developed seals that can withstand extreme process conditions, or diaphragm seals that require custom-designed connections.
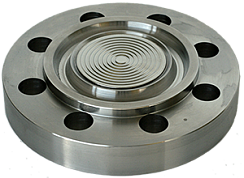
The diaphragm is TIG-welded to the flange and designed to provide the best performance for a specific size. This means its flexibility and shape are carefully tested and measured. The standard membrane foil thickness is 0.075 mm.
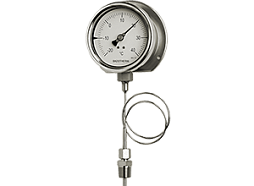
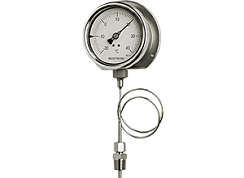
A bimetallic thermometer's measurement method involves the expansion of two different metals. These two inseparable, connected metal strips have different coefficients of thermal expansion. The bimetallic system is integrated into the thermometer stem and functions as a temperature sensor. An inert gas-filled thermometer's measurement method involves the expansion of the gas in a closed system. Changes in the temperature of the process being measured create a change in pressure in the measuring system, which is converted into a correct temperature reading on the dial. This type of thermometer is available as a direct mount or capillary thermometer.
A bimetallic thermometer's measurement method involves the expansion of two different metals. These two inseparable, connected metal strips have different coefficients of thermal expansion. The bimetallic system is integrated into the thermometer stem and functions as a temperature sensor. An inert gas-filled thermometer's measurement method involves the expansion of the gas in a closed system. Changes in the temperature of the process being measured create a change in pressure in the measuring system, which is converted into a correct temperature reading on the dial. This type of thermometer is available as a direct mount or capillary thermometer.
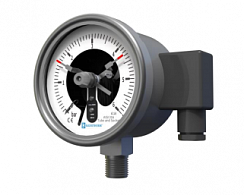
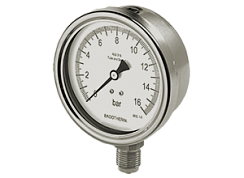
Range and accuracy capabilities are determined by the dial size. Accuracy ratings are based on dry gauges. Filling with liquid may affect accuracy.
Range and accuracy capabilities are determined by dial size. A reduced-volume version is specifically designed for use with diaphragm seals. Accuracy ratings are based on dry gauges. Filling with liquid may affect accuracy.
 Control and measuring instruments
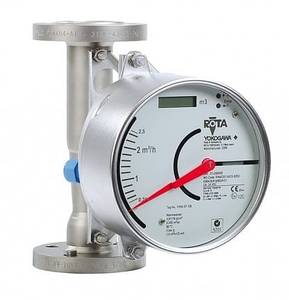
Control and measuring instruments (CMI) are specialized devices designed to measure specific physical quantities. They perform important functions, allowing equipment to be monitored and adjusted based on the data collected. CMI are used in various industries, including construction, manufacturing, and utilities.
Purpose of control and measuring instruments
The primary purpose of control and measuring instruments is to measure physical quantities. They allow monitoring of parameters such as pressure, temperature, electrical parameters, and others. The data obtained helps equipment operators monitor its performance, conduct maintenance, and make necessary adjustments.
Classification of control and measuring instruments
Control and measuring instruments can be classified according to various criteria. Let's consider the main classifications:
Design
-
Portable devices;
-
Stationary devices;
-
Panel instruments;
-
Panel instruments.
Method of providing information
-
Recording devices that record and store data about the measured value.
-
Indicating devices that directly show the current value of the measured quantity.
Measurement technique
-
Comparison devices that compare the value being studied with the standard value.
-
Direct acting instruments that measure quantities directly.
Features of the scale
-
Instruments with uniform scale;
-
Instruments with uneven scale;
-
Instruments with a non-zero scale;
-
Single-sided scale instruments;
-
Instruments with double-sided scale.
Measurement accuracy
-
Standardized devices that meet certain standards of measurement accuracy.
-
Non-standardized devices that do not meet measurement accuracy standards.
Functional purpose and scope of application
Different types of control and measuring instruments have their own functional purposes and areas of application. Some of these include: 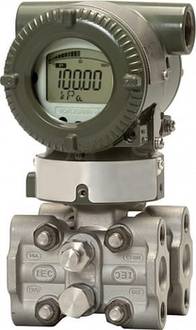
-
Pressure gauges, vacuum gauges and pressure gauges for measuring pressure.
-
Ammeters, voltmeters and electricity meters for measuring electrical parameters.
-
Hydrometers and densitometers for measuring density.
-
Level alarms, level gauges and radar instruments for level measurement.
-
Various types of thermometers and temperature converters for measuring temperature.
-
Pressure calibrators and piston gauges for measuring metrological data.
Buy control and measuring instruments in Kazakhstan
If you're interested in purchasing control and measuring instruments , we recommend contacting Power Technology Solutions. We offer a wide range of high-quality equipment and provide a warranty on our products. Browse our catalog to see the models we offer and their specifications.
